Few desserts command the global recognition and affection of classic tiramisù. With its elegant layers of coffee-soaked ladyfingers and billowy mascarpone cream, this iconic Italian creation has become synonymous with fine dining and sophisticated home entertaining. The name itself translates to “pick me up,” a fitting description for a dessert that combines the energizing qualities of espresso with the indulgent richness of mascarpone.
What makes tiramisù truly special is its accessibility. Despite its reputation as a restaurant showpiece, this dessert requires no baking, no special equipment, and surprisingly little hands-on time. Yet the result is consistently impressive: a dessert that looks as beautiful as it tastes, with contrasting textures and balanced flavors that have made it a beloved classic worldwide 🙂.
The Story Behind Tiramisù
While tiramisù feels timeless, it’s actually a relatively modern creation. The dessert appears to have been invented in the late 1960s or early 1970s in northeastern Italy, though the exact origin remains debated. According to Wikipedia’s detailed history of tiramisu, the restaurant Le Beccherie in Treviso is credited by many as the birthplace, where it was added to the menu in 1972.
The dessert’s components (ladyfingers, coffee, eggs, sugar, and mascarpone) were already established in Italian cooking, but their combination in this particular way was revolutionary. What’s remarkable is how quickly tiramisù spread beyond its origins. The dessert didn’t appear in Italian dictionaries until 1980, yet by the 1980s it had become a staple in Italian restaurants worldwide, particularly in New York City where it took the culinary scene by storm.
Understanding the Components
Mascarpone: The Heart of Tiramisù
Mascarpone isn’t technically a cheese at all. It’s a cultured cream product with origins in Lombardy, northern Italy. Unlike cheeses made from curdled milk with rennet, mascarpone begins with cream skimmed from whole milk, which is heated and combined with acid to thicken it. According to Ciao Italia’s guide to mascarpone, traditionally tartaric acid from wine barrels was used, though lemon juice works perfectly as well.
This production method creates mascarpone’s signature characteristics: a velvety, spreadable texture; a subtle sweetness; and a mild tang that enhances rather than overpowers other flavors. Its high butterfat content (typically 60-75%) gives it an almost whipped consistency that remains stable when folded with other ingredients, which is essential for creating tiramisù’s airy cream layers.
Quality matters significantly when choosing mascarpone. Look for brands with minimal ingredients (cream and acid, perhaps citric acid or lemon juice). The texture should be smooth and thick, never grainy or separated. Galbani, as specified in this recipe, is a reliable Italian brand widely available and consistently delivers the right consistency for tiramisù.
Ladyfingers (Savoiardi)
Savoiardi biscuits aren’t just any cookies. They’re specifically designed for absorbing liquid while maintaining structure. Traditional savoiardi are light, slightly sweet sponge biscuits with a distinctive oblong shape and powdered sugar coating. Their porous texture allows them to soak up coffee quickly without completely disintegrating.
The quality and type of ladyfingers significantly impact the final dessert. Italian savoiardi tend to be drier and more absorbent than softer varieties, which is ideal for tiramisù. Avoid soft, cake-like ladyfingers that might become mushy. The goal is biscuits that transform from dry and crisp to tender and coffee-infused while still providing structural integrity to each layer.
Coffee and Kahlúa
Authentic tiramisù relies on strong, bitter espresso, not regular drip coffee. The intensity is crucial because the coffee needs to maintain its presence even when absorbed into the sweet cream and cookies. Brew your coffee stronger than you’d drink it, using espresso or a very concentrated coffee made with a moka pot.
The optional Kahlúa adds complexity without making the dessert taste boozy. The coffee liqueur reinforces the espresso flavor while contributing subtle vanilla and caramel notes. If you prefer to omit alcohol entirely, the tiramisù will still be delicious. Just ensure your coffee is particularly strong and well-brewed to compensate.
The Recipe
Ingredients for Tiramisù
Serves 8 to 10- 4 eggs, separated
- 100 g sugar
- 500 g mascarpone (preferably Galbani)
- Pinch of salt
- 300 ml strong coffee, cooled completely
- 60 ml Kahlúa liqueur (optional)
- 400 g ladyfingers (savoiardi)
- Unsweetened cocoa powder for dusting
Method
Preparing the Coffee
Begin by brewing your coffee well ahead of time. It must be completely cool before you dip the ladyfingers. Hot or even warm coffee will cause the mascarpone cream to separate and become runny. Brew 300 ml of very strong espresso or concentrated coffee. If using a standard coffee maker, use twice as much ground coffee as you normally would.
Once brewed, stir in the Kahlúa if using. Pour the coffee into a shallow dish or rimmed plate, something wide enough to lay ladyfingers flat for dipping. Set aside to cool completely while you prepare the cream. You can speed this process by placing the dish in the refrigerator or even adding an ice cube or two to cool it quickly.
Making the Mascarpone Cream
This is where many home cooks go wrong with tiramisù. The key to achieving that signature light, airy cream is in how you handle the egg whites and how you fold everything together.
Start with the egg whites, which must be whipped in a spotlessly clean bowl. Even a trace of fat will prevent them from achieving proper volume. Add a pinch of salt to the egg whites. This helps stabilize them as they whip. Beat them on medium speed until soft peaks form (when you lift the beater, the peaks should curl over gently rather than standing straight up).
Once you have soft peaks, continue beating while slowly sprinkling in 50 g of the sugar. Add it gradually, giving the sugar time to dissolve into the egg whites. Keep beating until the whites reach stiff, glossy peaks. When you lift the beater, the peaks should stand upright and look shiny. Set this meringue aside.
In a separate bowl, beat the egg yolks with the remaining 50 g of sugar. Beat for several minutes until the mixture becomes pale yellow, thick, and slightly increased in volume. This step is important for both texture and safety. The beating helps pasteurize the eggs somewhat and creates a stable base for the cream.
Add the mascarpone to the egg yolk mixture. Here’s where technique matters: use a gentle hand. Overmixing can cause the mascarpone to become thin and runny. Stir just until the mascarpone is fully incorporated and the mixture is smooth and uniform. A few small lumps are better than an overmixed, liquidy cream.
Now comes the most delicate step: folding in the egg whites. Add about one-third of the whipped egg whites to the mascarpone mixture first. Fold them in completely. This initial addition doesn’t need to be gentle because its purpose is to lighten the dense mascarpone mixture, making it easier to fold in the remaining whites without deflating them.
Add the remaining egg whites in two additions, folding very gently each time. Use a large rubber spatula and employ a folding motion: cut down through the center of the mixture, sweep along the bottom of the bowl, and bring the spatula up along the side, turning the mixture over onto itself. Rotate the bowl slightly and repeat. Continue until you see no more white streaks, but stop as soon as everything is combined. Some tiny white spots are fine. Overmixing will deflate the cream and result in a dense, heavy tiramisù.
The finished cream should be light, fluffy, and hold soft peaks. If it looks runny or thin, your mascarpone may have been too warm, or the mixture was overworked. If this happens, refrigerating the cream for 20 to 30 minutes can help it firm up slightly before assembly.
Assembling the Tiramisù
Choose your vessel carefully. A clear glass dish shows off the beautiful layers, but any 9×13-inch baking dish or similar-sized container works well. You can also make individual portions in glasses or small bowls for an elegant presentation.
The dipping technique is crucial and often misunderstood. Many recipes call for soaking the ladyfingers, but this is a mistake. You want each biscuit to be saturated with coffee flavor but not so soggy that it falls apart or makes the dessert watery.
Hold a ladyfinger horizontally and quickly dip it into the coffee, turning it over once. The entire process should take just 1 to 2 seconds per side. You’re looking for the cookie to absorb coffee without becoming sodden. The biscuit should still feel somewhat firm when you place it in the dish. It will continue softening as the tiramisù rests.
Work quickly but carefully, dipping one ladyfinger at a time and immediately placing it in the dish. Arrange them in a single, tight layer covering the entire bottom of your dish. Depending on your dish shape, you may need to break some ladyfingers to fill gaps. This is perfectly fine. A solid, even layer of cookies is more important than keeping them all whole.
Spread half of your mascarpone cream over this first layer of ladyfingers. Use an offset spatula or the back of a spoon to spread it evenly, covering the cookies completely and reaching all the way to the edges. The layer should be smooth and level.
Take your unsweetened cocoa powder and dust it generously over the mascarpone layer. Use a fine-mesh sieve to distribute the cocoa evenly, creating a distinct chocolate layer. This cocoa between the layers adds visual appeal when you cut into the finished dessert and provides important flavor contrast. The bitter cocoa balances the sweet cream beautifully.
Now create your second layer. Dip more ladyfingers in the same manner and arrange them over the cocoa-dusted cream layer. Again, create a tight, even layer covering the entire surface. Spread the remaining mascarpone cream over these cookies, smoothing it to create an even top surface.
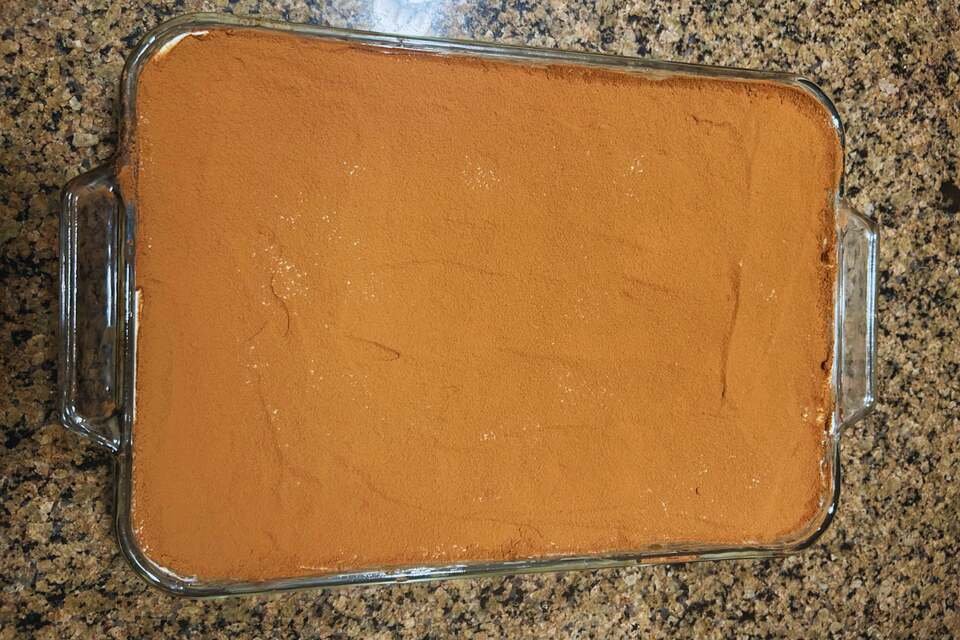
For the final touch, dust the top generously with more cocoa powder. This final layer should be heavier than the interior dusting. You want a rich, dark surface. Some people use a stencil to create patterns in the cocoa, but a simple, even coating is classic and elegant.
The Critical Rest Period
This is arguably the most important step, and it requires patience. Cover your tiramisù with plastic wrap (press it gently onto the surface to prevent a skin from forming) and refrigerate for at least 4 hours. However, tiramisù is genuinely better after an overnight rest, ideally 8 to 12 hours.
During this time, several crucial things happen. The ladyfingers continue absorbing moisture from the cream and any residual coffee, transforming from biscuits into something more cake-like. The flavors meld together. The bitter coffee, sweet cream, and chocolate cocoa stop being distinct elements and become a harmonious whole. The cream firms up slightly, making the tiramisù easier to cut and serve cleanly.
If you’re planning to serve tiramisù for a dinner party, making it the day before is actually preferable to making it the morning of. The extra rest time only improves the final result.
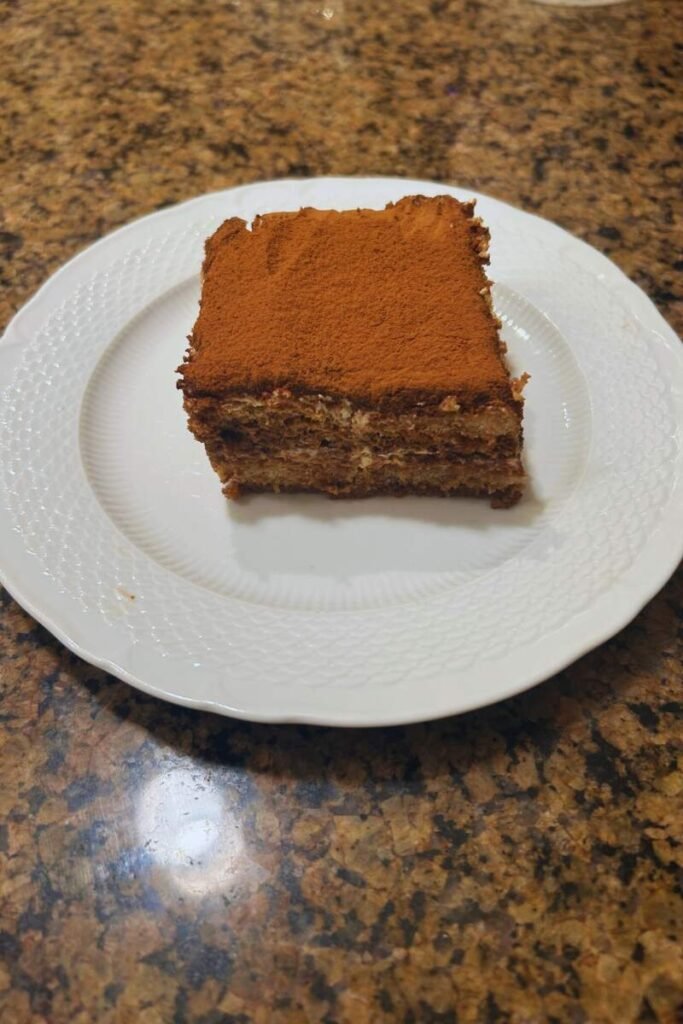
Serving and Variations
Tiramisù should be served chilled, directly from the refrigerator. Use a sharp knife, wiping it clean between cuts, to create neat portions. A good tiramisù should hold its shape when cut but remain tender and creamy, not firm or dense.
The classic version presented here is perfection as written, but tiramisù’s structure lends itself to creative variations. Some popular alternatives include:
Fruit tiramisù: Replace the cocoa layers with fresh berries or berry purée. Strawberries and raspberries work particularly well.
Chocolate tiramisù: Add melted dark chocolate to the mascarpone cream, or create layers using chocolate shavings instead of cocoa powder.
Amaretto tiramisù: Replace the Kahlúa with amaretto liqueur and add crushed amaretti cookies between layers.
Lemon tiramisù: Omit the coffee entirely and brush the ladyfingers with lemon syrup instead, adding lemon zest to the mascarpone cream.
Storage and Make-Ahead Tips
Tiramisù keeps well in the refrigerator for up to 3 days, though it’s at its peak within the first 24 hours after the initial rest period. The longer it sits, the softer the ladyfingers become. Some people prefer this ultra-soft texture, while others like a bit more distinct bite from the cookies.
Because of the raw eggs, proper storage is important. Keep the tiramisù covered tightly with plastic wrap or in an airtight container. The surface may weep slightly if left uncovered as moisture from the cream evaporates.
Tiramisù doesn’t freeze particularly well. The texture of the mascarpone cream changes significantly when frozen and thawed, becoming grainy and separated. This is one dessert best enjoyed fresh or within a few days of making.
Tips for Success
Room temperature eggs whip to greater volume than cold eggs. Take your eggs out of the refrigerator 30 minutes before you start.
The mascarpone should be cold but not ice-cold. If it’s too cold, it won’t incorporate smoothly into the egg yolks and might form lumps. If it’s too warm, the cream will be too soft and won’t hold its structure.
Don’t skip the salt in the egg whites. It truly does help create a more stable meringue that’s less likely to deflate when folded.
When dusting with cocoa powder, always use unsweetened cocoa. Sweetened cocoa drink mix will dissolve into the cream and create an unappealing, muddy appearance.
If you’re concerned about using raw eggs, you can use pasteurized eggs (available in many supermarkets) or pasteurize them yourself using the sous vide method. However, the sugar in both the yolks and whites does provide some antimicrobial properties, and the acidity of the coffee also contributes to food safety.
For the most authentic experience, use imported Italian mascarpone and savoiardi if you can find them. While domestic versions work, imported products often have the ideal texture and flavor profile that Italian home cooks rely on.
This classic tiramisù represents Italian dessert making at its finest: a handful of quality ingredients, minimal technique, and maximum impact. The result is a dessert that feels sophisticated and special yet remains approachable enough for any home cook to master. Whether you’re serving it at a dinner party or making it for a quiet weekend treat, tiramisù delivers that perfect “pick me up” it promises, both in flavor and in the satisfaction of creating something truly exceptional.