
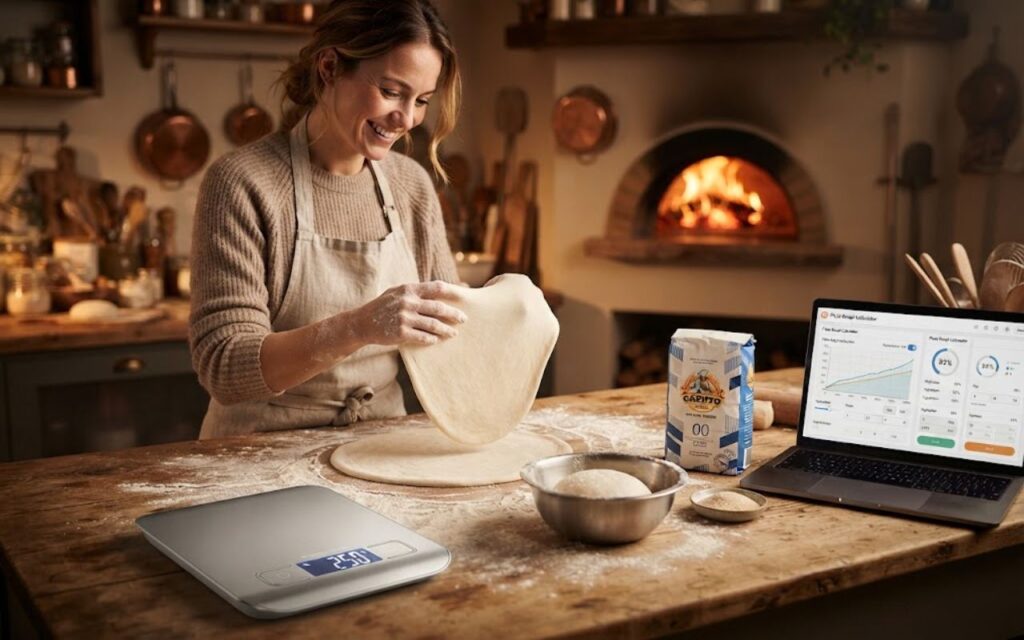
Stop guessing your water weights, fighting tight gluten structures, or ending up with undersized dough balls. Precision baking requires a shift from standard cookbooks to true baker’s percentages.
Every legendary pizza crust begins with exact math. However, most casual web recipes force home cooks into standard volumetric measurements like cups and tablespoons. This introduces massive variance due to how tightly packed flour is inside a container.
Our professional, forum-optimized pizza dough calculator eliminates guesswork. It handles dynamic water scaling, yeast conversions, and technical waste adjustments automatically so you get perfect results every single mix.
Master Pizza Engineering & Fermentation Suite
While our primary calculator above handles standard direct dough formulas instantly, true artisanal baking often requires specialized calculations for time, culture types, pan sizing, and pre-ferments. To fully master your crust structure, explore our dedicated technical toolkits and guides below:
- Pizza Dough Cold Fermentation Time Guide: Learn how to balance time and temperature variables to safely slow down your dough’s rising cycle inside a controlled refrigerator environment.
- How to Calculate Poolish and Biga for Pizza Dough: Master indirect fermentation science with our split-phase mathematical calculator for liquid and stiff preferments.
- Pizza Yeast Conversion Guide: Instantly swap weights and formulations cleanly between instant dry, active dry, and fresh compressed cake yeasts without ruining your rise.
- Beginner’s Guide to Baker’s Percentages: Break away from messy cup measurements and learn the foundational math of calculating all ingredients relative to your total flour weight.
- Pizza Dough Hydration Explained: Understand how altering water-to-flour ratios completely changes crumb porosity, dough stickiness, and your final crust crispness.
- New York Style Pizza Dough Calculator and Baker’s Percentages: Automatically calculate sugar and olive oil scaling ratios specifically optimized to get a perfect char in standard home kitchen ovens.
- Detroit Style Pizza Calculator and Pan Scaling Guide: Use our specialized dimensional calculations to find the exact dough mass required for your specific baking pan size to ensure an airy, honeycomb interior.
- Poolish Pizza and Fermentation Guide: Scale your weights perfectly for 100% hydration pre-ferment sheets to build an ultra-light, fragrant crust with maximum automated ease.
Why Pizza Dough Calculations Matter
In standard pastry culinary tracks, recipes are simple. In dough engineering, everything relies on Baker’s Percentages. This means the total weight of the flour always represents exactly 100%. Every single auxiliary component (water, salt, sugars, or biological leaveners) is calculated explicitly as a weight ratio relative to that initial flour base.
By treating flour as an unyielding anchor point, you can scale a production run effortlessly from two personal pizzas up to a thousand dough units without destroying the underlying hydration performance or salinity.
Weighing your elements in grams rather than tracking volumetric liquid markers protects you from bad batches caused by changes in temperature, environmental ambient humidity, or storage compression factors.
💡 The Hidden Bowl-Loss Phenomenon: Analysis of raw user feedback across deep baking communities confirms a recurring flaw: home cooks regularly note that their final portion weights run 5 to 10 grams short of their target. This is because raw gluten chains stick aggressively to stainless steel walls and mixing hooks. Activating our specialized 2.5% Bowl-Loss Compensation option slightly elevates the initial batch mass, cleanly offsetting processing waste.
Understanding Pizza Dough Hydration
Hydration represents the ratio of total water weight divided by flour weight. Elevating this ratio dramatically alters the crispness, open crumb porosity, and interior stretch of the final product. Choosing the right target depends completely on your baking environment, style goals, and equipment limits:
- Neapolitan (60% – 65%): Optimized for structural integrity inside intense wood-fired or gas outdoor configurations like an Ooni or Gozney (>850°F / 454°C). Shapes cleanly without sticking and cooks completely in a rapid 60 to 90 seconds.
- New York (60% – 65%): Maintains a robust, dry skin profile capable of handling standard commercial deck steel heat. Yields that classic foldable slice.
- Detroit / Pan (65% – 75%): An incredibly wet, open structure. Relies on pan boundaries for stability to yield an airy, honeycomb interior crumb.
⚠️ Crucial Home Oven Variable: If you choose to push your hydration past 65% up to 70% using a standard home oven kitchen setup, you must extend your bake times significantly. Unlike a blazing fast outdoor oven, home ovens cook at lower ambient temperatures. High-hydration doughs require extra time in the heat to properly cook out and dry the internal crumb structure, preventing a gummy, dense center.
Three Pizza Dough Troubleshooting Tips
1. The Delayed-Fat Principle (Why Dough Tears)
Many home cooks toss oils or fats into their hydration water right at the beginning of a mix cycle. This is a critical structural flaw. Lipids are naturally hydrophobic and seek out dry protein structures.
If oil coats your flour before it hydrates, it physically blocks your gliadin and glutenin molecules from bonding with water. This damages early gluten matrix generation, leaving you with weak dough that rips easily during stretching.
The Fix: Bring your flour, water, and yeast into a cohesive shaggy mass first, and only drizzle in your fats during the final two minutes of kneading.
2. Conquering the 0.1g Micro-Yeast Constraint
If you are planning an extended fermentation track (such as a 24-hour room temperature rise or a 72-hour cold-ferment matrix), your calculation metrics will regularly demand tiny yeast values dipping below 1 gram.
Standard digital kitchen scales are notorious for failing to read weights under 2 grams accurately, leading to severe under-counting and accidental, massive over-proofing.
The Fix: Because biological yeast density fluctuates significantly based on storage humidity and manufacturing variations, relying on manual guesswork or vague volumetric “pints/pinches” is highly volatile. If you are pursuing a long-ferment timeline, using a high-precision 0.01g pocket jewelry scale is completely non-negotiable to prevent catastrophic recipe blowouts before your bake.
3. Launch Failures & The Air-Cushion Technique
High-hydration sheets (68%+) stick easily to launching surfaces if left sitting with heavy wet sauce toppings for too long. To safeguard against catastrophic launch blowouts inside portable ovens, implement the community-tested hovercraft method.
The Fix: Lightly dust your launch peel with coarse semolina. If an edge sticks right before you slide it into the oven, lift that lip carefully and blow a sharp, fast burst of air directly underneath. This air pocket spreads across the base, letting the pizza slide safely off the peel.
Your Step-by-Step Pizza Night Timeline
To get the most out of your calculated recipe, use this field-tested workflow to stay organized:
- 1. The Mix & Autolyse: Whisk your calculated water and yeast together. Stir in 100% of the flour until a shaggy mess forms. Let it rest for 15 minutes to kickstart gluten absorption.
- 2. The Salt Bind: Add your salt. Knead for 5–7 minutes until smooth and elastic. If your style uses oil, drizzle it in during the final 2 minutes.
- 3. The Bulk Proof: Cover the dough ball in a lightly oiled bowl and let it rise according to your selected fermentation profile.
- 4. The Balling Phase: Divide your dough into the exact individual weights output by the calculator. Place them in covered containers for their final rest (at least 2 hours if at room temp, or up to 72 hours in the fridge).
- 5. The Launch: Stretch your dough by hand, top it quickly, apply the Air-Cushion Hack if it sticks to the peel, and bake!
🔥 Looking for the perfect oven to bake this dough? Don’t ruin a great mix with low heat. Check out my commercial-grade testing review of the Best Pizza Ovens for Home Use to see how Ooni, Ninja, and HALO handle precision hydrations.
Frequently Asked Questions
Can I use this calculator for sourdough pizza?
No. This calculator is specifically mapped for commercial yeast strains (Instant Dry Yeast, Active Dry Yeast, and Fresh Cake Yeast). Sourdough requires calculating a dynamic baker’s percentage based on a live culture starter, which introduces different hydration balancing equations.
Why does my pizza dough snap back and shrink when stretching?
If your dough behaves like a rubber band and pulls back inward, the gluten network is too tense. This happens if the dough is cold straight from the fridge or hasn’t rested long enough after being shaped into balls. Let your dough balls rest covered at room temperature for an additional 60 to 90 minutes to allow the gluten matrix to relax.
What is the best oven temperature for this calculator?
If your calculated hydration is between 60% and 64%, it is optimized for high-heat outdoor ovens like an Ooni or Gozney (750°F to 900°F). If you push the hydration up to 65% to 70%, it is best suited for a home kitchen oven maxed out with a preheated baking steel or cast iron pizza pan.