
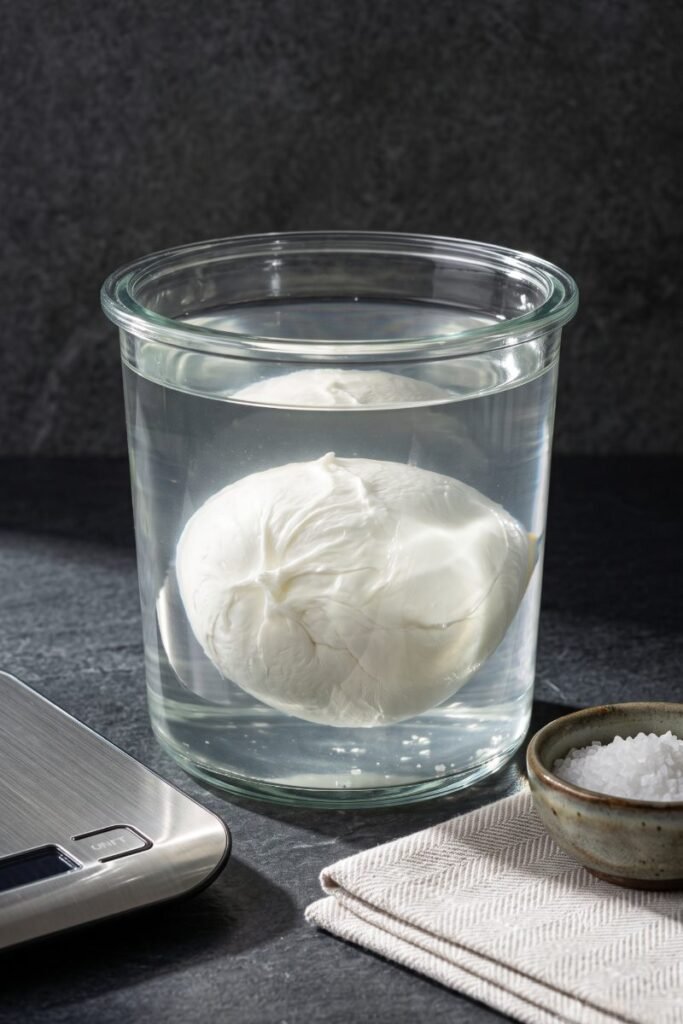
When I rescue a beautiful, plump globe of fior di latte from its packaging to slice over a fresh summer salad, learning how to correctly store fresh mozzarella is the absolute baseline rule required to prevent your premium curd from breaking down into a slick, unappetizing coating of slime. Over my years of managing high-moisture raw dairy variables, I have treated the outer texture of soft curd globes as a serious structural balance equation rather than a matter of lucky timing.
Whenever I see amateur home cooks drain away the packing juices, wrap the leftover cheese tightly in dry plastic cling film, and toss it onto a cold refrigerator shelf, I notice how bad storage habits ruin the dairy. For me, preserving that delicate, milky bite requires matching the internal water weight of the cheese with an identical liquid environment so the surface proteins remain perfectly firm and intact.
Why Plastic Wrap Destroys Soft Protein Walls
To understand why a dry storage bag or a tight sheet of plastic film triggers a slippery breakdown across a soft curd globe, you have to look closely at hydration boundaries. Fresh cheese models carry a massive 60% internal moisture footprint that is held in place by a delicate, loose web of interwoven milk proteins.
When you strip that wet block of its surrounding liquid bath and wrap it tightly in a non-porous layer of plastic wrap, you trap escaping whey water directly against the outer flour-soft skin. This trapped, stagnating moisture microclimate breaks down the structural integrity of the outer casein proteins, causing them to dissolve back into a loose, milky paste.
This wet, protein-rich film becomes an open breeding ground for wild refrigerator bacteria and psychrotrophic molds, which feed on the loose milk sugars and leave behind that thick, sour slime layer. I manage these exact surface moisture boundaries constantly when adjusting my dough profiles, a structural fluid balance I track closely inside my guide on Fresh Mozzarella vs. Low-Moisture Mozzarella: Which Melts Best on Pizza?.
Without these structural boundaries working effectively, the structural cell shields fully collapse, causing the outer cheese casing to disintegrate into an unappealing, sticky layer that tastes unpleasantly sour on the palate.
The Chemical Power of Balancing a 4% Salt Brine Bath
My absolute baseline rule for preserving a sliced or opened globe of fresh milk cheese relies on creating a custom liquid sanctuary that mimics the chemistry of the cheese itself. I follow the strict hydration boundaries, salt concentration scales, and fluid preservation rules documented inside the official MasterClass Fresh Cheese Storage Directory to keep my dairy bodies firm.
If you accidentally discard the original packing whey when opening the container, you cannot simply drop the remaining curd into a tub of plain tap water. Plain water contains zero sodium minerals, creating an unbalanced osmotic pressure difference that forces the salt inside the cheese to bleed outward into the container.
This mineral loss dilutes the cheese flavor and softens the exterior protein matrix into a mushy slurry. To stop this degradation, mix two cups of cold filtered water with one tablespoon of fine sea salt to generate a balanced 4% salinity brine. Submerge the remaining cheese completely inside this liquid bath before sealing the lid, ensuring the sodium counts remain perfectly locked in place.
The salt balance blocks any water translation across the dairy shield, keeping the dense center plump while shielding the outer curd walls from standard environmental breakdown inside the cold jar.
Managing the Vegetable Crisper Drawer for Temperature Control
The final law for extending the lifespan of your fresh dairy investments requires managing your internal refrigerator temperature zones with absolute precision. Never place your delicate brine containers on the top shelf near the main air intake blower or inside the thin shelves of the appliance door.
The door shelves experience massive thermal spikes every single time you open the appliance, a fluctuating environment that accelerates microbial spoilage and breaks down fragile milk fats. Conversely, the area directly beneath the air intake runs too cold, running the risk of forming micro-ice crystals inside the brine that tear through the soft curd walls and leave the cheese rubbery.
Slide your sealed glass jars directly into the center of the vegetable crisper drawer, where the insulated environment maintains a rock-solid, stable cold zone. I know my temperature strategy is fully successful when the stored rounds pull clean from the liquid with a matte, velvety exterior that slices smoothly without weeping separate milky lines on the board.
Taking the extra two minutes to build a proper brine and balance your cold storage heights is the ultimate secret to delivering an elite meal to your family table.
This continuous thermal balance protects the delicate lipid strands, keeping the original milky flavor intact for up to a full week without texture issues.