
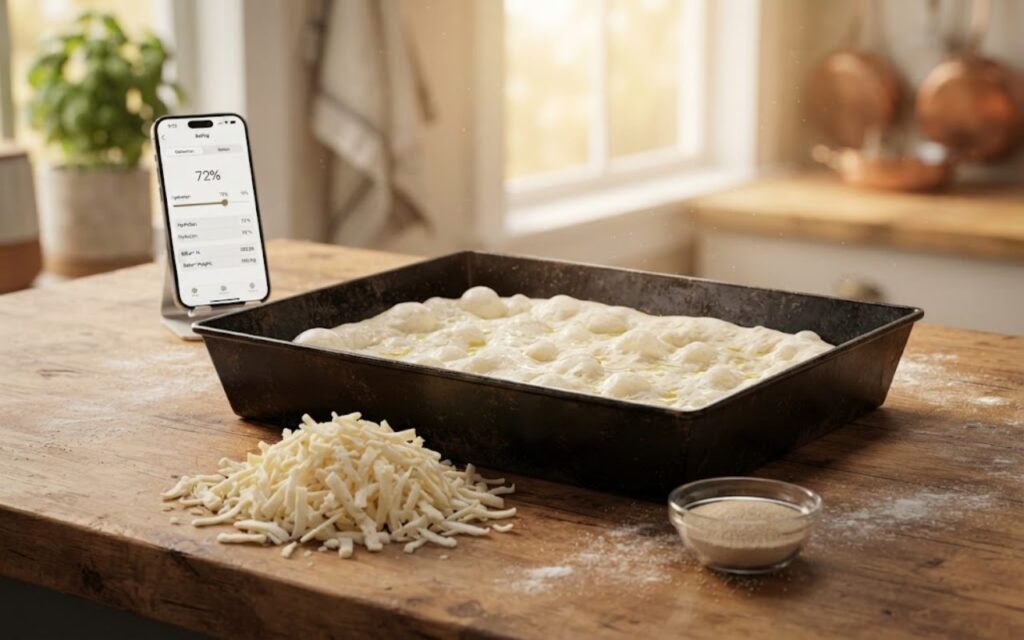
Unlike round Neapolitan or New York pies stretched thin on a peel, a true Detroit style pizza relies on a deep, high-sided pan to build its signature airy structure and iconic crispy cheese wall (frico). The single biggest mistake home bakers make is guessing how much dough to mix for their specific pan size.
If your dough mass is too low, your crust will turn out thin, tough, and incapable of supporting heavy sauce tracks. If it is too high, you end up with a dense, gummy loaf of bread.
Using a dedicated detroit style pizza dough calculator based on precise volumetric surface math eliminates this guesswork entirely. Below, we break down the formula behind calculating your pan’s thickness factor and how to mix a high-hydration pan dough flawlessly.
📐 Detroit Pan Matrix Calculator
Dynamic Volume & Dimensions Scaling Engine
Pan Dimension Profile
Detroit Ingredient Formula
Mastering the Thickness Factor & Surface Area Calculation
To scale dough perfectly for a rectangular pan, you must determine its square-inch surface area by multiplying the interior width by the interior length. For example, a classic small pan measures 8 inches by 10 inches, yielding exactly 80 square inches of base space.
Once you have your area, professionals apply a constant known as the Thickness Factor (TF). This indicates how many ounces of raw dough are allocated to cover every single square inch of the pan bottom.
Traditional configurations utilize a constant of 0.125. Multiplying 80 square inches by 0.125 oz results in exactly 10 ounces of raw dough mass, which converts precisely to 283.5 grams. If you transition to a large 10×14 inch pan, your surface area climbs to 140 square inches, which automatically scales your required dough mass up to 496 grams.
📐 The Sloped-Side Variable: While pure geometric surface math works flawlessly as a baseline, keep in mind that commercial pans are manufactured with slightly sloped sides to allow them to nest inside one another. This means the true interior base measurement of a 10×14 pan is closer to 9×13 inches (~117 square inches). Our calculator includes a built-in 2.5% processing waste buffer to safely account for these physical pan variations and sticky processing waste.
If you want to unlock advanced customizations for your formula—such as adjusting preferments or modifying fermentation timelines—use our complete master pizza dough calculator.
Why High Hydration is Non-Negotiable for Pan Pizzas
If you try to make a Detroit style pan pizza using a tight, stiff 60% hydration dough, you will fail. Stiff doughs resist expansion when pinned down by the structural walls of a high-sided metal pan. This leaves your final crumb heavy and dense.
Pan baking dictates a hydration threshold between 68% and 73%. Because water acts as a powerful steam leavener when subjected to heat, high moisture values create large, high-rising steam chambers within the crumb as it bakes. This yields a light, bubbly honeycomb structure.
Furthermore, a high-hydration matrix lets the wet dough adapt to the corners of the pan without tearing or snapping back during pressing phases. This ensures your edge cheese rests flat against the perimeter wall to brown into a perfect crisp line.
Step-by-Step Detroit Dough Protocol
1. The Long Mix & Bowl Rise
Measure out your dry bread flour, water, yeast, and sea salt. Combine your water and yeast first, then stir in your flour until a wet mass forms. Add the salt last. Knead on medium speed for 6 to 8 minutes. Because this dough has a high hydration profile, it will look wet and sticky at first.
Do not add extra flour; keep kneading until it pulls away cleanly from the sides of the mixing bowl. Shape into a ball, cover, and let it rise for 2 hours at room temperature, or up to 48 hours in the refrigerator for maximum complex flavor development.
2. Dimpling & Fitting the Corners
Pour two tablespoons of quality olive oil directly into the bottom of your pan. Degas your dough ball and drop it into the oil, flipping it once so all sides are coated. Gently push your fingers into the dough to flatten it across the pan bottom.
The Corner Rule: Wet dough will try to snap back from the corners of a cold pan. Do not force or pull it. If it resists stretching, leave it completely alone. Cover the pan with a dry towel, let it rest for 20 minutes to allow the tight gluten network to relax, and return to dimple it again. It will slide easily into the sharp pan corners on the second pass.
3. The Secondary Pan Proof
Once your dough fills the pan completely, seal it with a lid or plastic wrap. Let it proof undisturbed in a warm spot for 2 to 3 hours before baking. You want the dough to expand until it is nearly an inch thick, uniform, and filled with large, fragile air bubbles across the surface.
Blue Steel vs. Modern Anodized Aluminum: The Frico Pan Battle
The defining trait of this style is the crisp, dark perimeter crust called frico. This is created by layering shredded Wisconsin brick cheese heavily along the perimeter edges where the dough meets the hot pan wall. As the pan heats up inside your oven, the fat from the cheese liquefies and deep-fries the edges of the dough against the metal boundary.
The Material Shift: While authentic historical Detroit pizzas were baked in heavy, industrial blue steel automotive parts trays, modern commercial standards have evolved. Today’s premier pizzerias favor heavy 14-gauge hard-coat anodized aluminum pans (such as LloydPans PSTK).
These modern pans eliminate the tedious rust-prevention seasoning required by raw blue steel while delivering identical, highly efficient heat transfer that crisps wet pan dough without sticking.
🔥 Want to elevate your pan game even further? Getting that thick bottom crust perfectly crisp without burning your cheese wall requires balanced, top-and-bottom heating elements. Explore my complete guide to the Best Pizza Ovens for Home Use to see which countertop models deliver the exact radiant floor profiles needed to bake flawless pan recipes.