
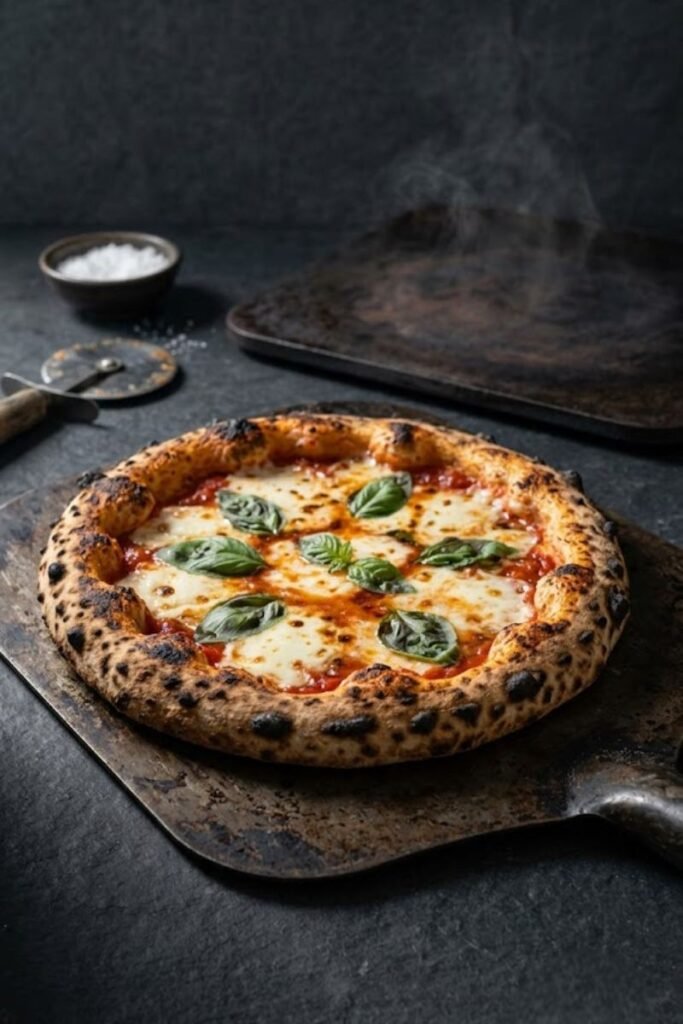
When I stretch out a fresh ball of artisan wheat on my counter for pizza night, understanding exactly how to get a crispy pizza crust in a standard home oven is the ultimate structural secret that keeps your pie from collapsing into a floppy, under-baked disappointment. Over my years of managing dough hydration windows and thermal transfer variables, I have treated home oven limitations as specific thermodynamic problems that can be solved with precise material choices rather than pure guesswork.
Whenever I see amateur home bakers slide their loaded dough rounds onto a cold, thin aluminum cookie sheet and wonder why their center stays gummy and white while the toppings shrivel up under the elements, I notice how a lack of heat-retention tools limits the final quality. For me, delivering a true wood-fired crunch inside a basic kitchen setup requires changing how you store thermal energy, altering your rack positioning, and strictly regulating your top-to-bottom moisture release windows.
Why Slow Thermal Conductivity Generates Gummy Centers
To understand why a basic home oven naturally struggles to match the crisp, blistered rim of an artisan brick pizzeria setup, you have to analyze how heat transfers across different materials. Commercial pizza chambers rely on massive clay floors heated to nearly 900 degrees, an extreme environment that vaporizes surface moisture instantly while driving gas bubbles into the raw dough walls.
Standard home ovens max out between 500 and 550 degrees, and their wire racks can only circulate dry air currents around a pan slowly. If you use a standard, lightweight metal baking sheet, that thin material carries a poor thermal conductivity rate, taking several minutes to heat up to ambient temperature after entering the chamber.
During those slow opening minutes, the wet moisture inside your tomato sauce and melting cheeses drains downward into the expanding gluten cells, soaking the flour layers completely before they can form a crisp outer shell. This unchecked water infiltration is the exact structural disaster that ruins the bottom bite, a fluid pooling trap I avoid by using heavy preheated stones, similar to the rules I employ when managing dairy dampness inside my guide on Fresh Mozzarella vs. Low-Moisture Mozzarella: Which Melts Best on Pizza?.
The Thermal Power of Baking Steels Over Thin Ceramic Stones
My absolute baseline rule for upgrading a standard kitchen stove into a rapid-bake powerhouse relies on using dense, heavy-gauge steel plates instead of traditional porous clay circles. I follow the strict temperature thresholds, conductivity metrics, and preheating parameters documented inside the official Serious Eats Pizza Science Directory to safely manage my kitchen baking setups.
A quarter-inch thick sheet of carbon steel conducts thermal energy up to eight times faster than standard ceramic or quarry tiles. When you let that metal plate absorb high heat from your oven elements for a full hour before cooking, it stores an immense reservoir of intense heat.
The exact second your dough touches that preheated steel surface, the conductive heat transfer slams directly into the flour proteins, initiating an immediate Maillard browning phase that hardens the outer crust shell within sixty seconds.
This blistering heat generation completely locks out escaping liquid from the sauce, ensuring the bottom stays completely flat, firm, and crisp enough to support heavy toppings easily without sagging on your wood peel
High-Rack Blazing and Broiler Toggles for Total Crisp Cohesion
The next major law for achieving structural balance across your pie requires optimizing your rack height and using your stove’s top heating elements strategically. Never place your preheated steel plate on the absolute bottom floor of your oven cavity, as this dead zone blocks natural air circulation and slows down the cooking time of your cheese layer.
Position your primary baking rack in the upper third of the oven space, roughly six inches beneath the top broiler element loop. This close positioning lets the massive conductive heat from the steel cook the bottom dough rapidly, while the intense radiant heat bouncing off the top roof browns your pepperoni and cheese at the exact same pace.
If your cheese starts bubbling before the outer crust rim achieves a deep golden-brown color, simply toggle your stove setting over to high broiler mode for the final two minutes of the bake. This burst of intense, direct overhead flame instantly blisters the exposed dough bubbles into a beautiful leopard-spotted rim, giving you a professional texture contrast without drying out the interior crumb structure.
Simple Stovetop Rules to Save a Soft Undercarriage
The final law for managing your pizza assembly line requires implementing an aggressive pan-searing step if you ever find yourself baking on a basic sheet pan without a steel plate. If you lift the edge of your cooked slice with a spatula and see a pale, soft undercarriage that folds easily under your fingers, never serve that wet slice directly to your guests without treating it first.
Slide the entire pizza off its sheet pan and drop it directly into a wide, dry cast-iron skillet resting over a medium flame on your stovetop for roughly two minutes. This quick contact blast cooks out any residual bottom moisture instantly, restoring a deep, rustic crunch to the crust without overcooking your top toppings.
I know my home-baking process is completely successful when I cut through the finished crust with a roller wheel and hear a loud, distinct crackle across the cutting board. For me, taking the extra time to properly preheat your heavy metals and position your baking racks is the ultimate secret to delivering a flawless, restaurant-grade pizza straight from a standard kitchen setup.