
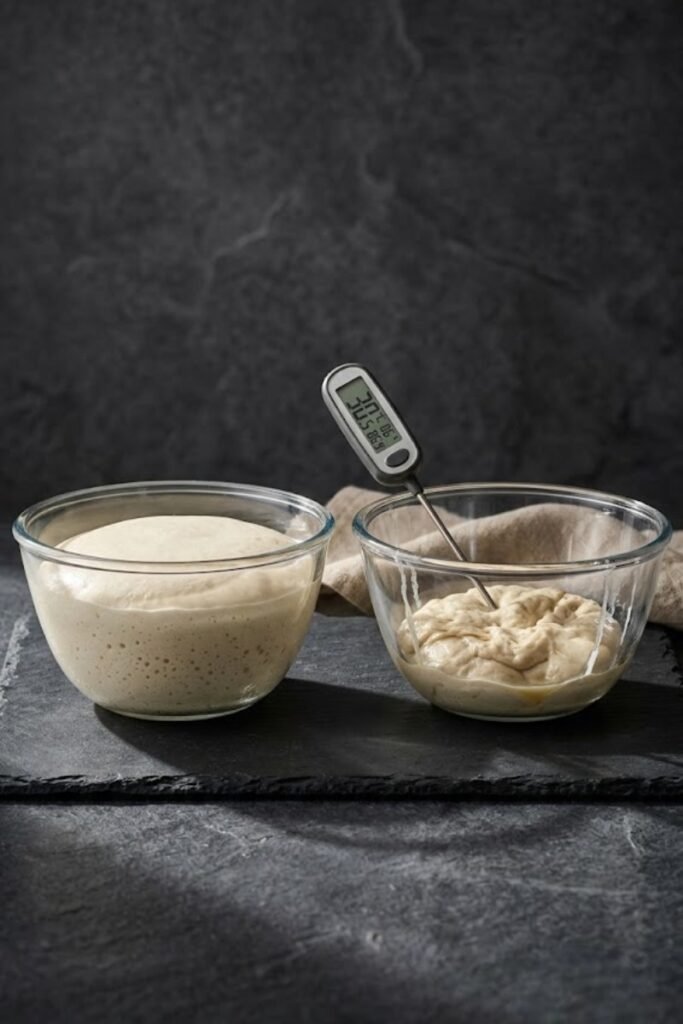
When I clear off my mixing bench to mix up a premium batch of flour, regulating the exact temperature for proofing pizza dough is the absolute core step required to prevent your crust from baking into a hard, sour cracker. Over my years of managing live fermentation environments and stretching sensitive cell sheets, I have treated thermal spikes and cooling rooms as strict biochemical equations rather than matters of simple kitchen luck.
Whenever I see amateur home bakers leave their wet dough containers sitting directly on top of a hot radiator or right next to a steaming stovetop burner to force a fast rise, it hurts the wheat. Watching the overworked mass expand too fast into a loose, vinegar-scented puddle before collapsing down the center shows how poor thermal management ruins the batch.
For me, delivering a true restaurant-quality artisan rim requires locking your containers into stable climate heights. You must balance enzyme production windows perfectly so your final starches bake into a light, crispy framework that blisters beautifully in the oven.
How Thermal Energy Regulates Yeast Respiration Rates
To understand why a minor fluctuation of five degrees completely transforms the structural integrity of your baking rounds, you have to look closely at microscopic fungal biology. Commercial baker’s yeast is a living, temperature-sensitive organism whose digestive speed and respiration cycles are driven entirely by the ambient climate of your kitchen workspace.
When you mix your flour and keep the fermentation environment running near a warm eighty degrees, the yeast cells consume the natural grain sugars at a perfectly balanced, steady pace. This stable digestion lets the cells generate clean carbon dioxide gas pockets that expand the surrounding protein blankets uniformly into a plump, elastic dome.
If you let your kitchen temperature spikes climb past the ninety-degree threshold, the metabolic rate of the yeast accelerates into an uncontrolled, ravenous feeding frenzy. The cells release gas bubbles far too aggressively for the developing gluten strings to trap, stretching the protein membranes beyond their physical limits until they tear open and leak air.
This rapid gas loss systematically destroys your interior air pocket mapping, a structural cell failure I monitor closely when tracking extreme thermal maximums during baking. I monitor these heat transfers constantly when aligning my final baking stones, a thermal baseline I track closely inside my guide on how to Get a Crispy Pizza Crust in a Standard Home Oven.
The Biochemical Dividing Line Between Carbon Dioxide and Acid
The next major variable that establishes a deep dividing line between an artisan slice and a ruined dough mass comes down to balancing gas expansion against organic acid accumulation. I follow the technical thermal curves, flour cell profiles, and biological sugar digestion metrics documented inside the official Serious Eats Science Guide to Dough Fermentation and Time Management to keep my pan environments clean.
When yeast cells are exposed to high kitchen heats, they do not just produce carbon dioxide; they also generate large amounts of liquid alcohol, acetic acid, and lactic acid. In a controlled, cool environment, these subtle organic acids are beneficial, slowly relaxing the gluten networks over several days to yield a complex, nutty flavor profile.
When intense thermal energy forces these acids to multiply in a few hours, the massive acid concentration chemically breaks down the interwoven glutenin and gliadin protein strings. This chemical degradation transforms your tight, elastic dough ball into a loose, sticky, and completely un-shapable slurry that smells aggressively of sour vinegar.
The weakened protein sheets can no longer support their own water weight, meaning that the moment you slide your pizza onto a hot stone, the center caves inward into a dense, gummy paste that refuses to cook through.
The Multi-Zone Fermentation Path for Total Crumb Control
The final law for mastering your dough setups requires abandoning the idea that a single, warm countertop spot can handle your entire proofing schedule from start to finish. To unlock an elite, airy interior crumb with big surface blisters, you must implement a multi-stage thermal profile that utilizes both warm room environments and controlled cold vaults.
Begin your process by letting your freshly kneaded dough rounds rest on your kitchen counter at room temperature for roughly two hours to kick-start initial yeast activity. Once the mass shows signs of life and swells slightly, transfer the oiled container directly into a cold forty-degree refrigerator for a slow 24-hour cold ferment.
The intense drop in thermal energy slows the yeast cells down into a near-dormant state, halting rapid gas production while allowing flavor-enhancing organic acids to develop at a safe, measured pace. About three hours before you are ready to slide your peels into the oven, pull the cold tubs out and let them rest on your bench to hit room temperature.
This gradual re-warming window allows the dormant yeast cells to wake up smoothly, consuming the remaining sugars to inflate the relaxed protein sheets into a supple, highly stretchable canvas.
I know my thermal mapping strategy is fully successful when the stretched round slides onto my peel with a smooth, velvety skin that handles effortlessly without shrinking back or tearing open under my knuckles.
Taking the extra time to separate your temperature zones and regulate your proofing heights is the ultimate kitchen secret to delivering an elite artisan bake.